UI software burn-in and integration software use
Serial screen project development architecture The secondary development of serial screen project mainly consists of UI interface development and serial communication protocol development. Users will be the project UI project package file_xx.zip through the integration software into the required Texture.acf material file through the TF card burned to the serial screen, the user can be established through the serial communication protocol to the serial screen display control operations. The application program files cpu0.bin, cpu1.bin and the display configuration file product.bin are provided by Speed Micro, which are generally burned once with the product from the factory and do not need to be burned again by the user (of course, they can be burned repeatedly). Users only need to upgrade the Texture.acf file generated by the UI project for secondary development.
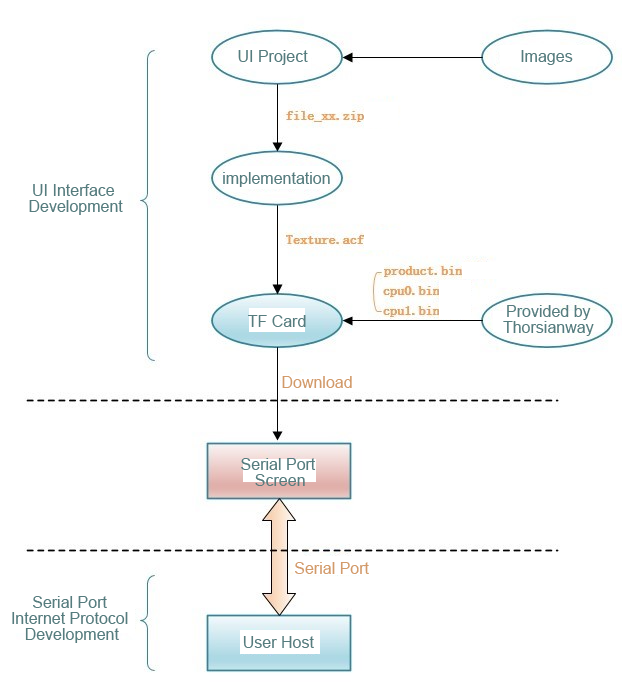
bootloader program and project files In order to improve the convenience and efficiency of updating the product firmware program, we choose to use the TF card bootloader to upgrade the project files. The upgrade method using bootloader will have two parts of code, the first part of the code is the bootloader program and the second part of the code is the project files to be upgraded, including application files, display profiles, material files, etc. The bootloader program is usually cured when the product is shipped from the factory, and it is directly cured into the internal Flash of GC9003 graphics processor through the download tool, and its function is mainly to perform the update of the second part of the code, that is, the project file.
Upgrade project files A new system needs to prepare four project files, which are. 1, cpu0.bin (user core cpu0 application file, the implementation of the project business logic); 2, cpu1.bin (graphics core cpu1 application file, performs graphics processing logic); 3, product.bin (display configuration file, related to the screen display); 4, Texture.acf (material files, related to the UI interface logic). Put the project files in the root directory of the TF card, the system will start the upgrade process according to the file name specified in the root directory of the TF card, each upgrade can be all 4 files can be upgraded, or only some of the files can be upgraded. It is important to note that the upgrade file name is fixed, and the case and suffix must not be written incorrectly.
Upgrade Note: For serial screen products, since the relevant project files have been burned in the factory, users only need to upgrade the Texture.acf material file generated by the project UI engineering for secondary development. TF card needs to be formatted as FAT32 file system when it is used for the first time. The simple way is to use a card reader to connect the TF card to a Windows computer, it will be displayed as a "removable disk" or something like that, right-click and select "Format...", in the pop-up window select In the pop-up window, select "FAT32 file system", at the same time, check the "Quick Format" option, and then click the "Start" button, after a few seconds will be prompted to format successfully.

TF card formatting illustration
Upgrade Steps 1) Copy the project file to be upgraded to the root directory of the TF card via a card reader on the PC side, make sure the correct file name; 2) Insert the TF card into the card slot of the instrument panel in the power-down state; 3) Power on the TF card and start the upgrade process automatically, and there will be a progress bar on the screen at the same time; 4) After the normal upgrade is completed, you can see the screen display UI interface. Finally, pull out the TF card to prevent the upgrade process from being performed again.

Upgrade process using TF card
Integrated software use Since new users' computers may be missing some of the components required for the operation of the all-in-one burning software, the following is a list of several common problems and solutions when using the all-in-one burning software.
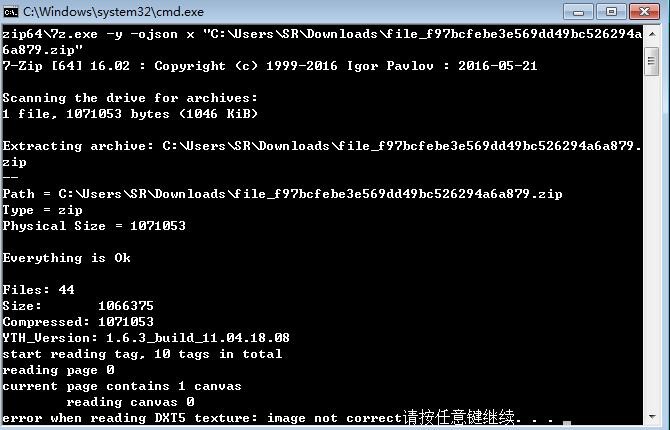
Frequently Asked Questions:_error when reading DXT5 texture
If the use of all-in-one burning software, the following prompts, resulting in failure to generate the burning file, you need to follow the steps below to solve the problem, first of all, install the DirectX SDK, and observe whether the solution. If it is not resolved, then install Visual Studio.
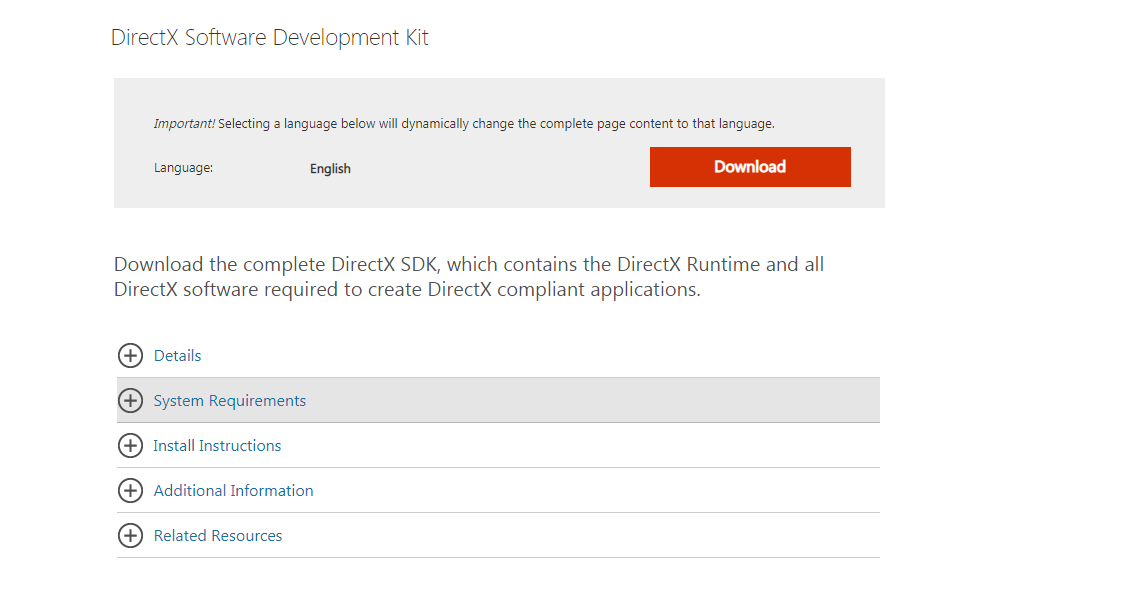
Method 1: Install DirectX SDK (1) https://www.microsoft.com/zh-CN/download/details.aspx?id=6812, enter this URL in your browser to enter the official website to download, or click the alternate link to download: http://graphichina.f3322.net:2020/d/s/ oM2SoMDNfFCpPRn2ZcCJmjBNzzCS497K/sLrzVEN5v121ypuFjTGh7a5K3uabiwfm-eL0gY27tgwk
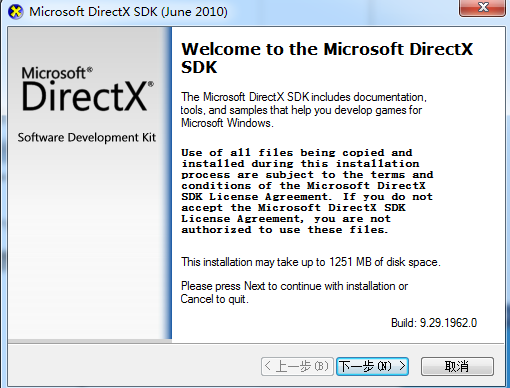
(2) After the program is downloaded, click Open and click Next to install. (Just keep following the default options and click next)
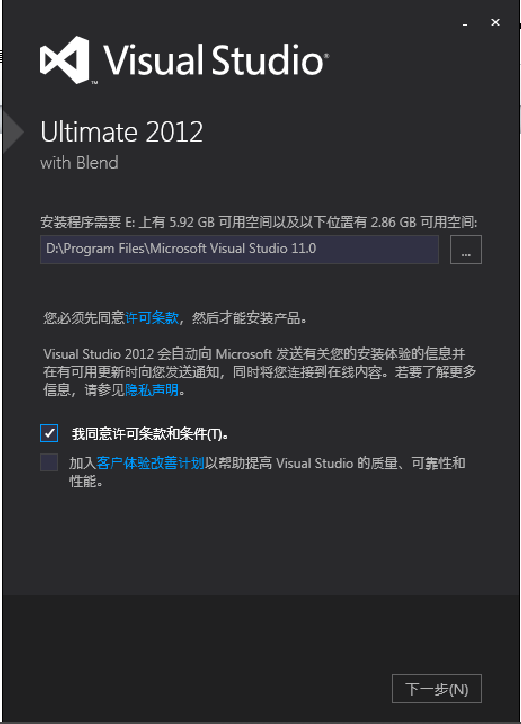
Method 2, install Visual Studio (recommended 2012 version) (1) exe installation files directly double-click to open, ISO virtual file installation virtual machine to open the decompression, find the exe file to install, click "Next".
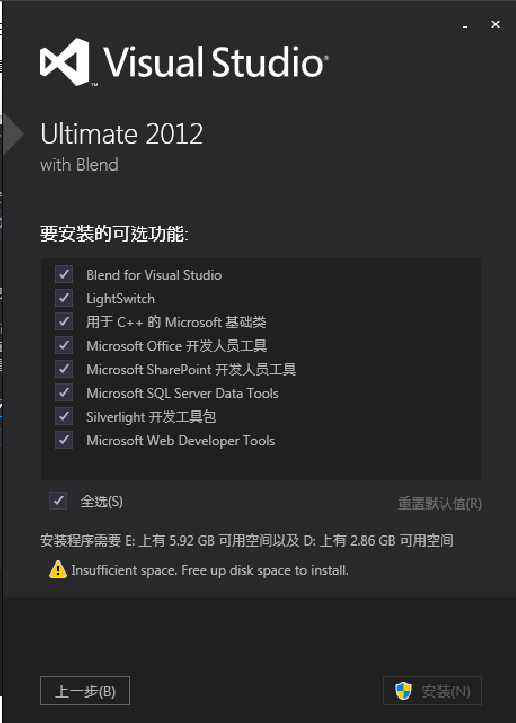
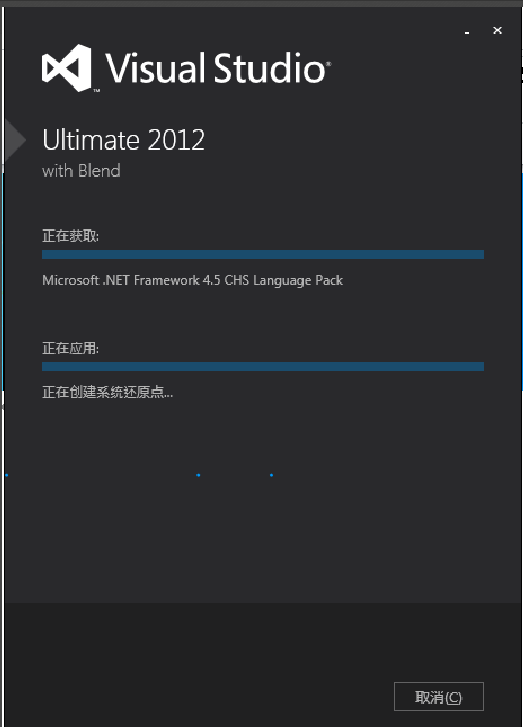
(2) Click "Select All", click agree, click "Next". (3) Click "Restart Now", restart your computer to complete the installation.

Method 3: If the installation of the above software DirectX SDK, Visual Studio can not be resolved it is recommended to reinstall the computer system or contact Speed Micro Electronics.