Grid
The Grid control is used to generate the border of the Grid, above which the numbers can be placed.

Click the "Add Control" button in the "Edit" menu and select "Grid" from the drop-down list of controls.
The message "Add Widget Successfully" will pop up in the upper right corner of the interface, and you can see the newly added control in the "Edit Area". Select the control, you can edit it in the "Properties" column.
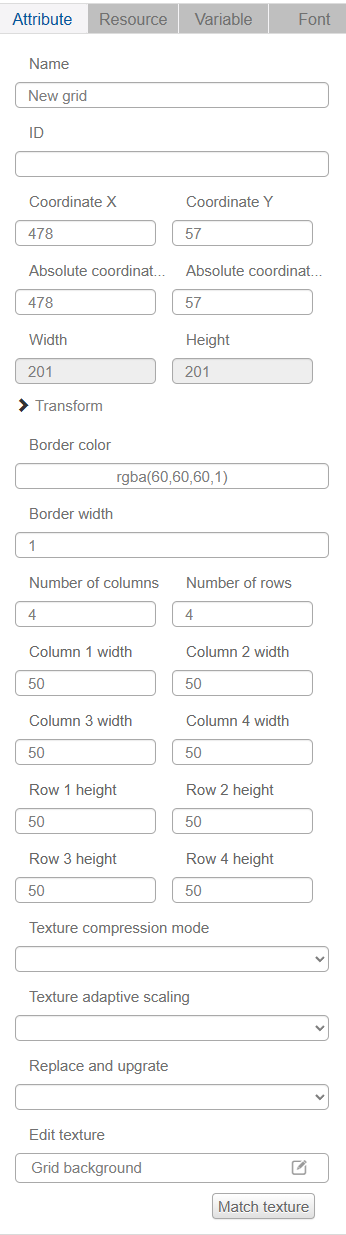
Name, ID, Coordinate, Width, Height, Block Touch, TransGrid, Texture Compression Mode, Replaceable Upgrade, Texture are common properties, which are introduced in "Basic Design - Edit Properties" section, so we won't repeat them here.
The width and height of the table are automatically summed by setting them row by row, and they are read-only mode.
User-selectable border colors with different colors and transparency.
Users can modify the border width, the range of the border width value is 1-100, over the range of the input will pop-up window to remind.

You can set the number of rows and columns, the height of each row and the width of each column.

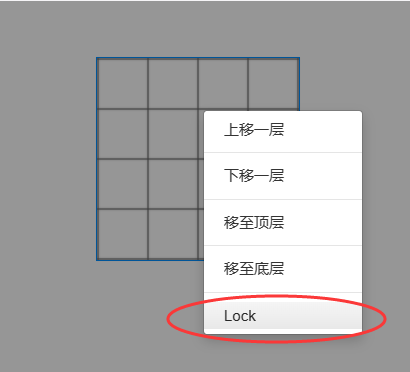
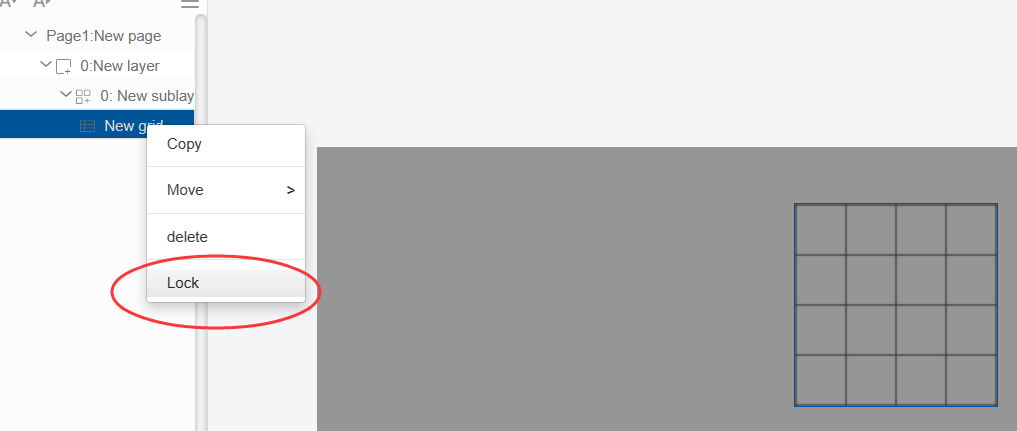
Tip: Because the table control above the number placed on the need for frequent click to move the operation, in order to avoid moving the number of mistakenly selected Grid controls can be right-click on the table control "lock", after the lock will not be able to edit the control in the editing area of the control to be selected, if you need to unlock it can be in the navigation bar to select the table control and then right-click on it and select "Unlock".