Number
Click "Add Control" button in the "Edit" menu, and then click "Number" in the drop-down list of controls. The message "Add widget successfully" will pop up in the upper right corner of the interface. In the "Edit Area", you can see the newly added number control, and you can edit it in the "Properties" column.

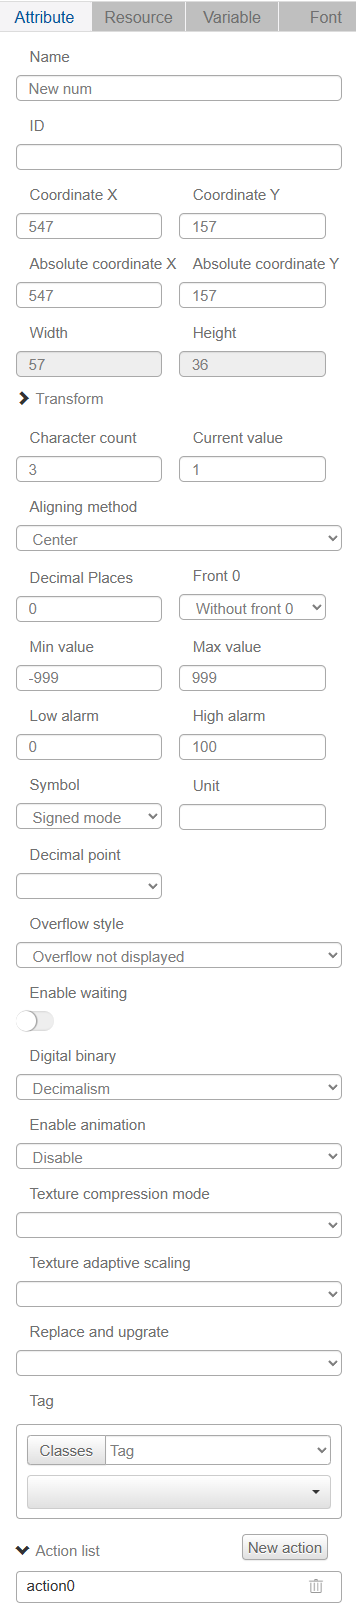
Name, ID, Coordinates, Width, Height, Blocking Touch, Transform, Texture Compression Mode, Replaceable Upgrade, Texture are common attributes, which are introduced in the "Basic Design - Edit Attributes" section, so we won't repeat them here.
The width and height of the numeric control are preset by the system and cannot be modified.
Users can choose decimal or hexadecimal according to their needs.
When selecting hexadecimal, you can choose whether to display the 0x sign, upper or lower case. For example, if you enter 10, if you select the lowercase mode without sign, it will display a. If you select the uppercase mode with sign, it will display 0xA.
The "Min" and "Max" values indicate the range of the number to be displayed, and the input range is from -999 999 999 to 999 999 999.
The "Low Alarm" and "High Alarm" are the two flag bits of the number. By setting the control action, you can realize that when the value crosses the set alarm value, the corresponding action will be triggered.
"Characters" is the number of digits the control can display, excluding symbols.
The number of decimal places is the number of decimal places in the displayed character. Decimal digits cannot be displayed in hexadecimal. In hexadecimal, the user can choose whether or not to display the case mode of the progression character (0x) and the letter. For example, to display the hexadecimal number 10, a will be displayed if the unmarked + lowercase mode is selected, and 0xA will be displayed if the marked + uppercase mode is selected.
Decimal point mode allows you to set the width of the decimal point, either "half a character" or "one character".
Current value is the current value displayed in the edit window.
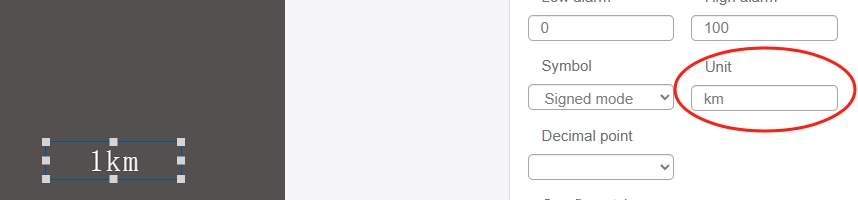
Unit is to set the unit carried after the number.
User can choose whether to enable wait value or not. If wait value is enabled, when the value of the variable bound to the control is a wait value, the control will display "---" in each digit to indicate that the line is dropped.
Alignment method can be selected as center, right, left.
The "Enable Animation" drop-down list has two options: Enable Animation and Enable Animation. If you choose to enable animation, you need to match the setting of time curve and duration to have dynamic effect when the number changes. You can choose the mode with or without sign, the mode with sign will add - sign when displaying negative numbers; the mode with or without leading 0, the mode with leading 0 will use 0 to fill the number of characters in front of the numbers automatically.
Display, no display mode when the number overflows.
There are two options in the drop-down list of "Overflow Mode": overflow don't show and overflow show. The overflow do not show means that when the value of the number is not within the range of the minimum value and the maximum value, the number will not be displayed. Overflow display shows the maximum or minimum value after the run.
The texture of the numeric control is preset by the system, so the user has no permission to set it and can only choose the texture compression mode.
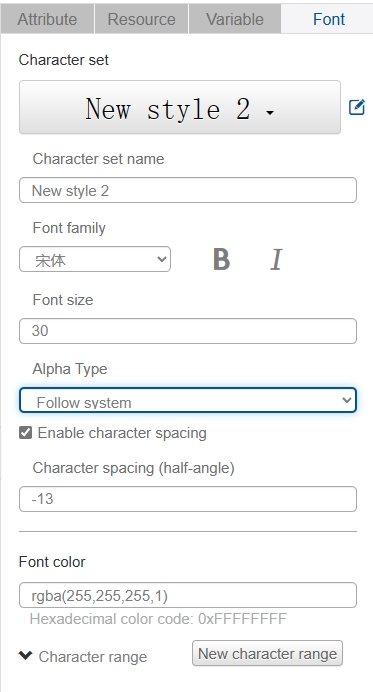
In the "Font" column, you can modify the font, font size, font color, etc. of the numbers.
**Color change control for numeric controls
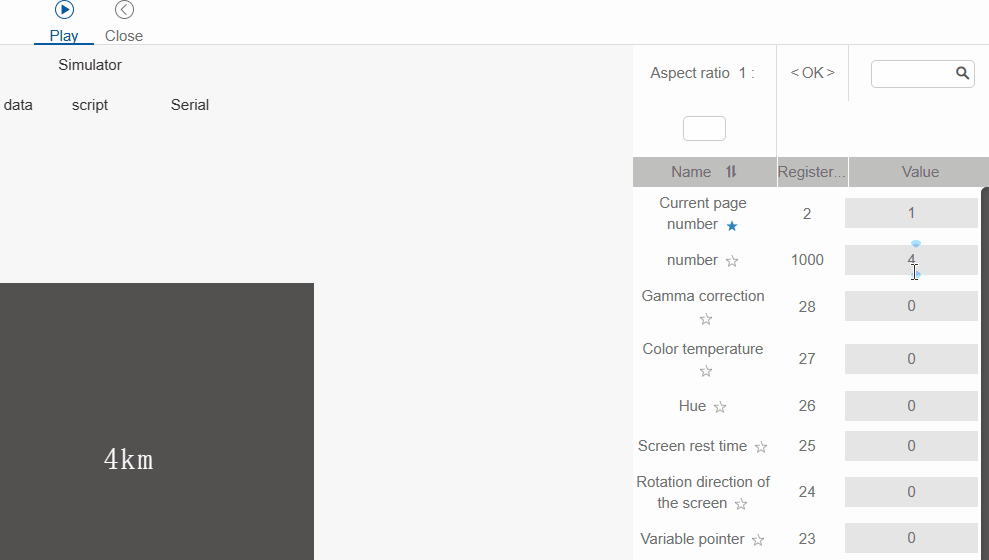
- Add a numeric control and assign register 1000 to it
- Set the index ID for the numeric control

- Bind a numeric control to a Tag and then set the trigger condition in the "Action" of the control to "Tag change".

- Add judgment logic statement + color change instruction ("setColor + index ID + 0x hexadecimal RGBA color value"), the example is as follows: Sample project URL: https://ide.graphichina.com/project/61a081b5b3d1101283eac493/editor?ideVersion=1.10.16# Password: 9067
(1) The instruction in the red box - when the number is greater than 10, the display color value (RGBA) is DC143CFF (hexadecimal color code), and the value of A (transparency) in RGBA is generally used as FF (hexadecimal), that is, 255 (decimal), which is not transparent. (2) orange box command - the number is greater than 5 and less than 10 when the display color value of FFD700FF. (3) Command in the red box - when the number is less than 5, the display color value is FFFFFFFFFF.
- Run the simulation on the IDE side, and assign values to the variables bound to the numeric controls to see the effect of changing the color of the numbers.
- Other controls such as text input controls, time controls, transparency layer controls change color in a similar way.