Data Image
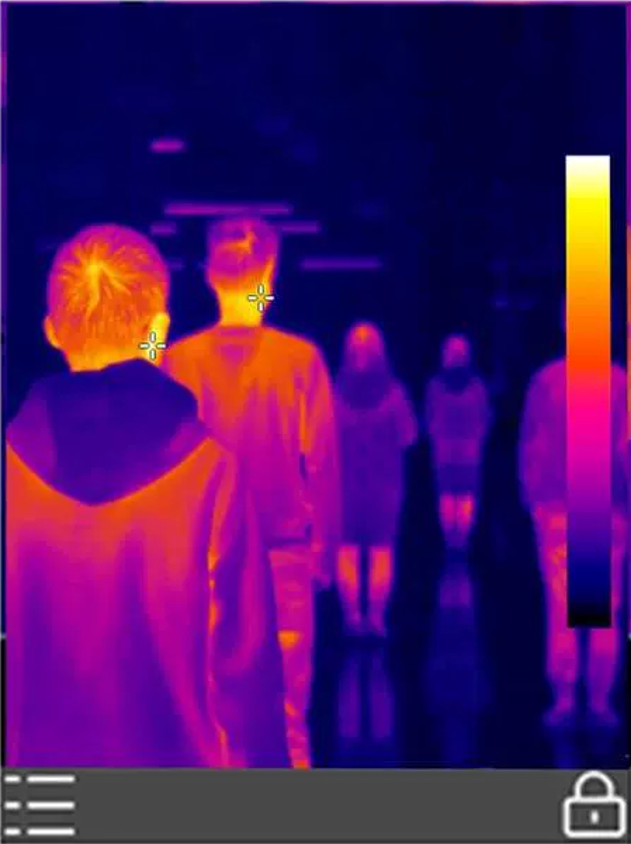
The Data Image control can read rgba or rgb data directly to display a picture, which can be used to display the real-time detection effect of sonar detectors, infrared detectors and so on.
Name, ID, Coordinate, Width, Height, Block Touch, Transform, Texture Compression Mode, Replaceable Upgrade, Texture are common properties, which are introduced in the "Basic Design - Edit Properties" section, Maximum, Minimum, Low Alarm, High Alarm, Start Angle, Initial Value properties are the same as the Maximum, Minimum, Low Alarm, High Alarm properties. Maximum, Minimum, Low Alert, High Alert, Start Angle, Initial Value properties are similar to the properties described in the Dashboard control and will not be repeated here.
The data modes are "rgba8888" and "rgb565", the setting of this parameter depends on the type of data to be transmitted.
The data direction can be "row" or "column", the parameter setting depends on the type of data transferred.
Refresh mode has "Cycle" and "Advance" options, different refresh modes have different display effects.
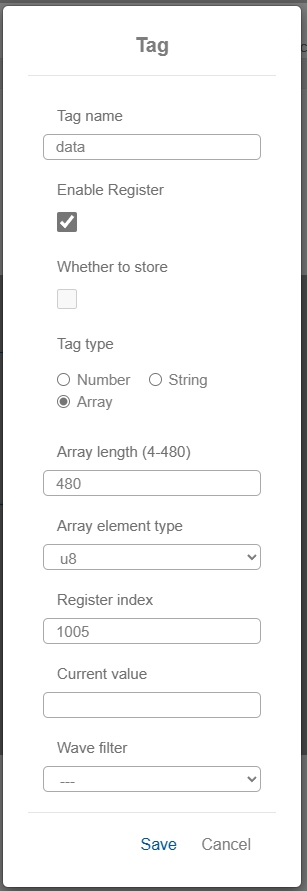
It should be noted that the variable type of the bound variable of the Data Image control should be set to "Array";
The array length can be set from 4 to 480, it is recommended to set it larger;
The array element type can be "u8", "u16" or "u32", the parameter setting depends on the type of data to be transferred.
1.The array is actually a series of pixel color values. The array is actually a series of pixel color values.
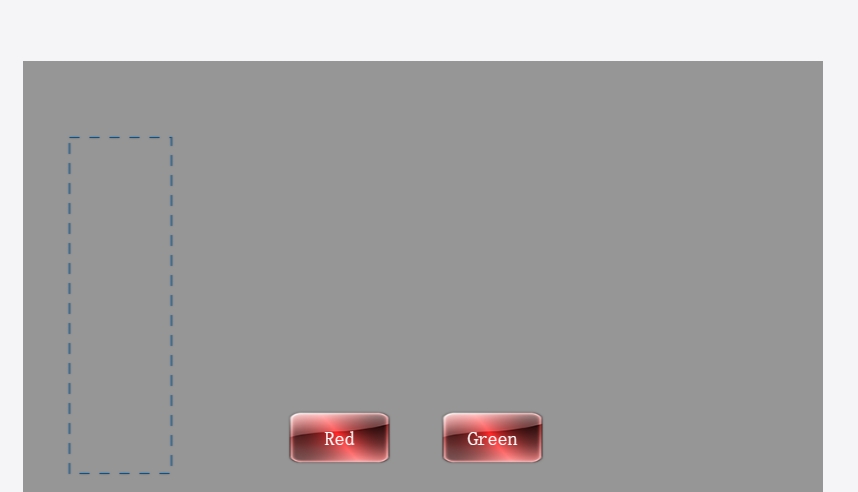
For your understanding, we set the width of the Data Image control to 100;
Add two button controls
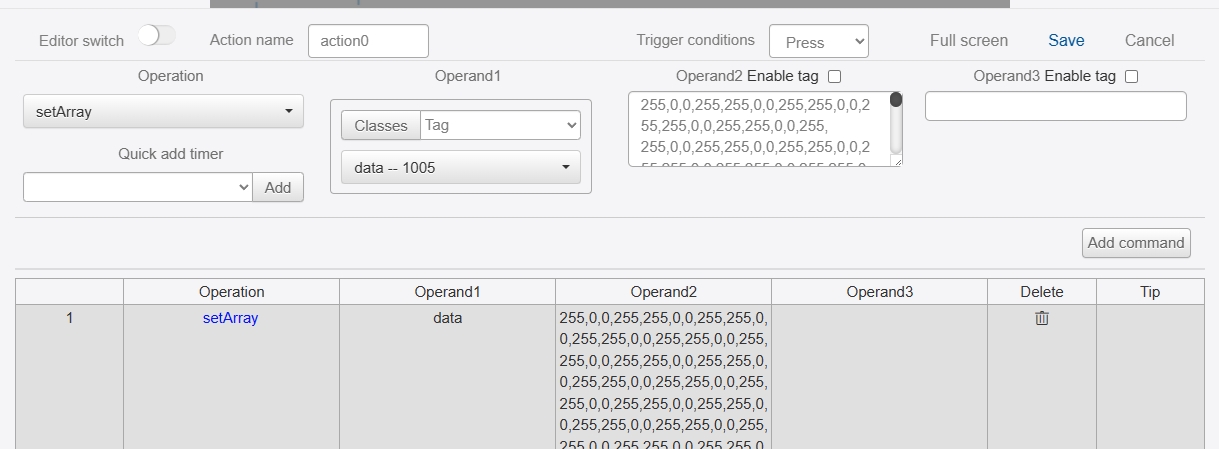
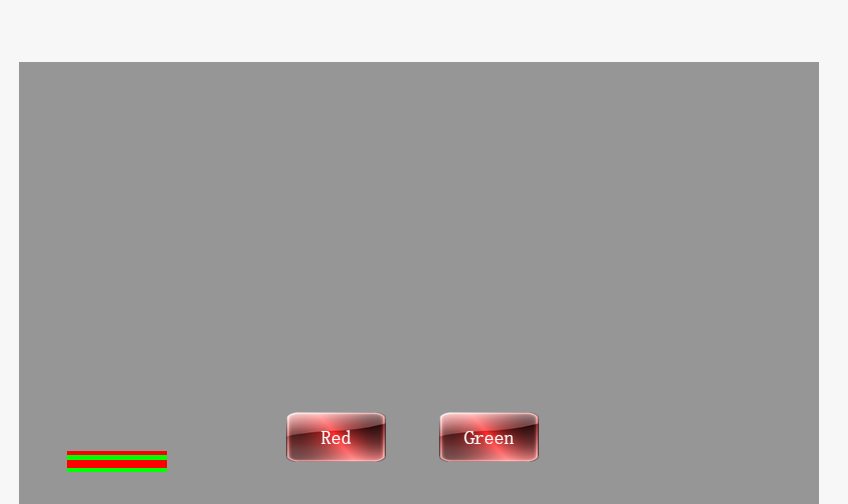
The command in the red image data button is "setArray Data Image 255,0,0,255...". The command in the red image data button is "setArray Data Image 255,0,0,255...", there are 100 sets of "255,0,0,255", where "255,0,0,255" represents the rgba value of red color;
The command in the green image data button is "setArray Data Image 0,255,0,255...", "0,0,0,255...", "0,0,0,255" means red rgba value. In the green image data button, the command is "setArray Data Image 0,255,0,255...", and there are 100 sets of "0,255,0,255", of which "0,255,0,255" represents the green rgba value;
Enter IDE simulation, click the red image data button 10 times, then click the green image data button 10 times to get the following image:
- In addition, we can click on "Graphical Data" during IDE simulation.
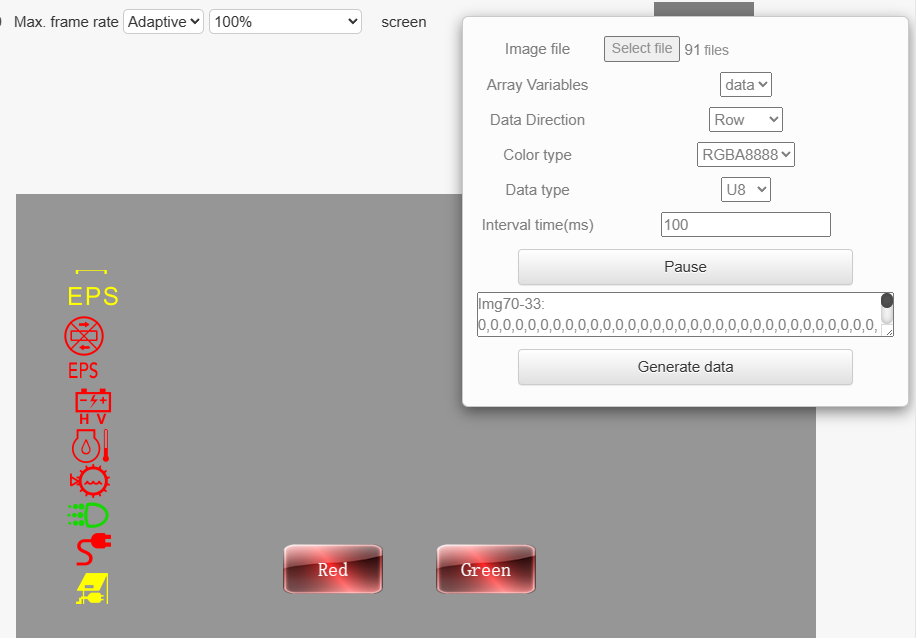
In the pop-up window, click "Select File" to import one or more pictures;
Array Variables selects the variables to which the Data Image control is bound;
The data direction, color type and data type are the same as the previous settings, and the interval time can be set freely;
After clicking "Start", you can simulate converting the image to rgba8888 or rgb565 data, and then transfer the data to the Data Image control, and then the Data Image control can display the corresponding image;
Click "Generate Data" to generate a json file containing the image data.

